Common issues
The avatar version listed on the store page is no longer available
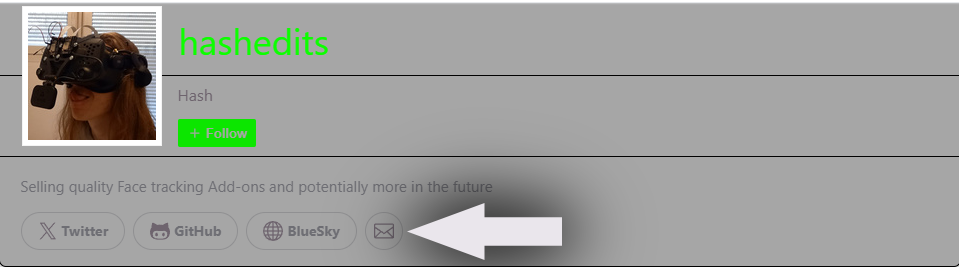
If the specific avatar package version is not available anymore please contact me trough Booth DMs By clicking the mail icon on my Booth page
I will try my best to provide an update to retain compatibility as fast as possible
I've adjusted my avatar with blendshapes and clipping occurs when blinking
This guide is useful if you've adjusted your model with blendshapes
Locate your custom model's main FBX file and back it up
First you'll need to find your main FBX file that contains the head of your model. To do so:
Select it in your scene hierarchy by left clicking on it:
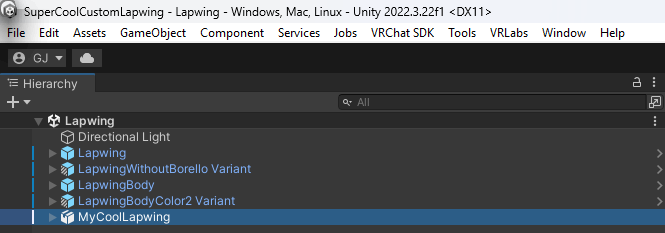
Go to the inspector tab (By default on the left hand side)
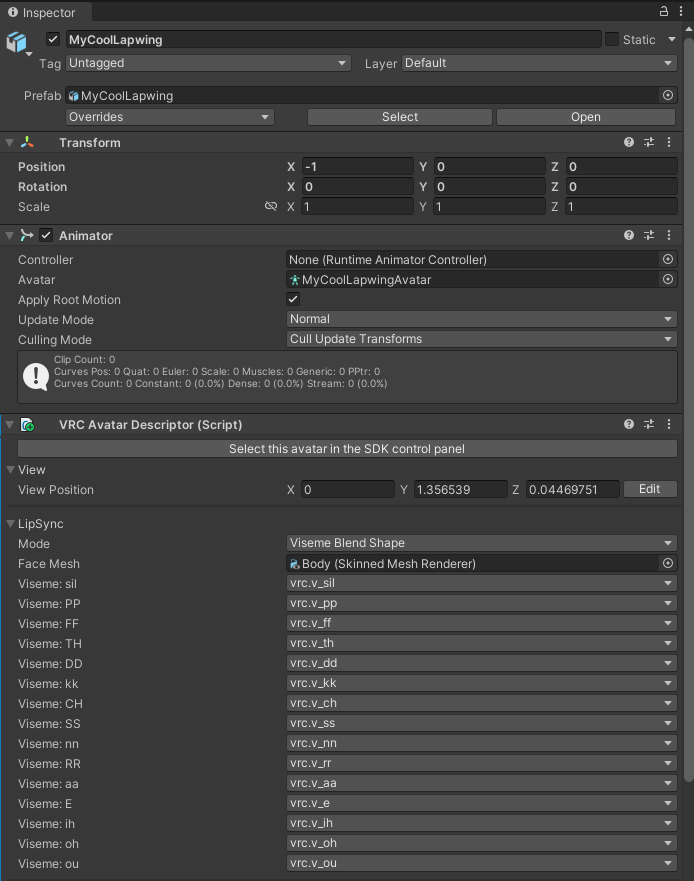
Click on the avatar armature component (the little green icon of a person)
This will reveal the file in the unity file explorer
Right Click on the parent file of the avatar armature component
Export Package
Untick
Include dependenciesin the window that openspress
Export...Select where you want your backup to be stored at
Return back to Unity
Right Click on the file again
Click
Show In Explorer
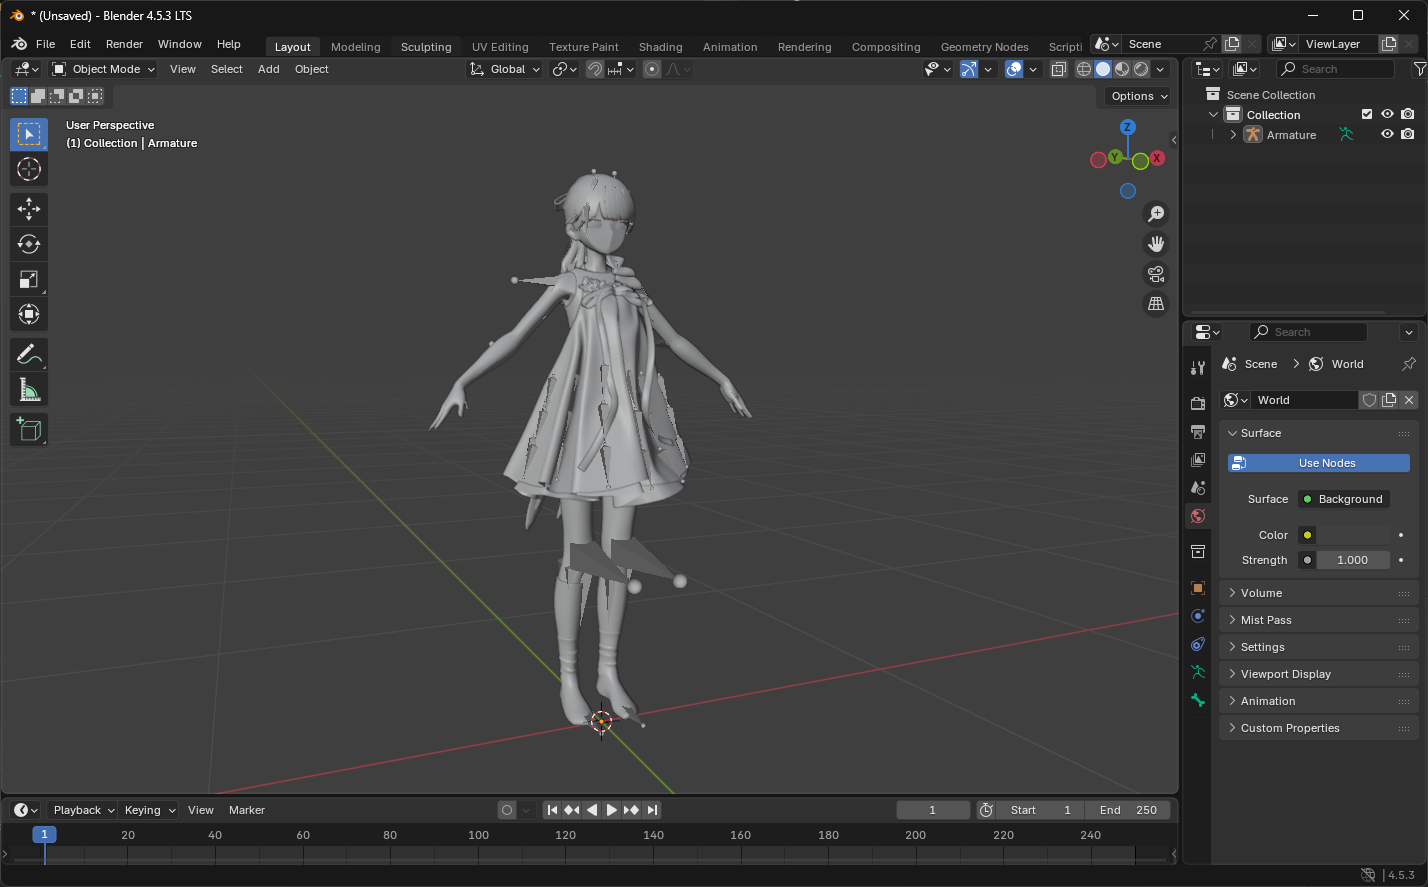
Open Blender
- Download Blender here
- Follow the install wizard
- Open Blender
Clear the scene
- Click anywhere on the viewport to remove the startup splash screen
- press
Ato select everything - press
Delto delete everything
Import your custom model
Direct yourself at the top left of your window
Click
FileClick
ImportClick
FBX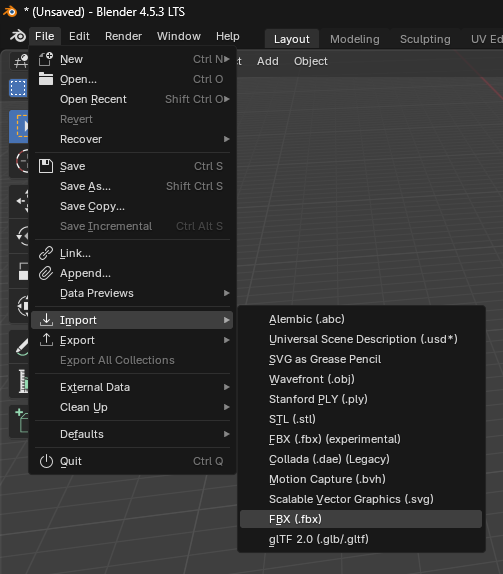
Select where your custom model is located at

Press the
Import FBXbutton at the bottom left of the window
Your custom model should now be into Blender! Feel free to save it somewhere safe by pressing Ctrl+S to save your progress
Generate a mix of your blendshapes
Back in unity take note of your blendshape mix and reproduce it in blender
I suggest using nekobako's Editor Patcher, here's a link that will add it to your VCC
Click
Manage Projecton your projectSearch
Editor Patcherand click the+icon to it to your repositories

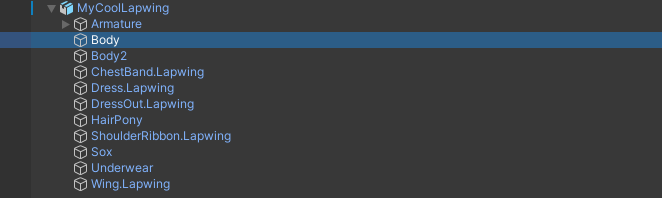
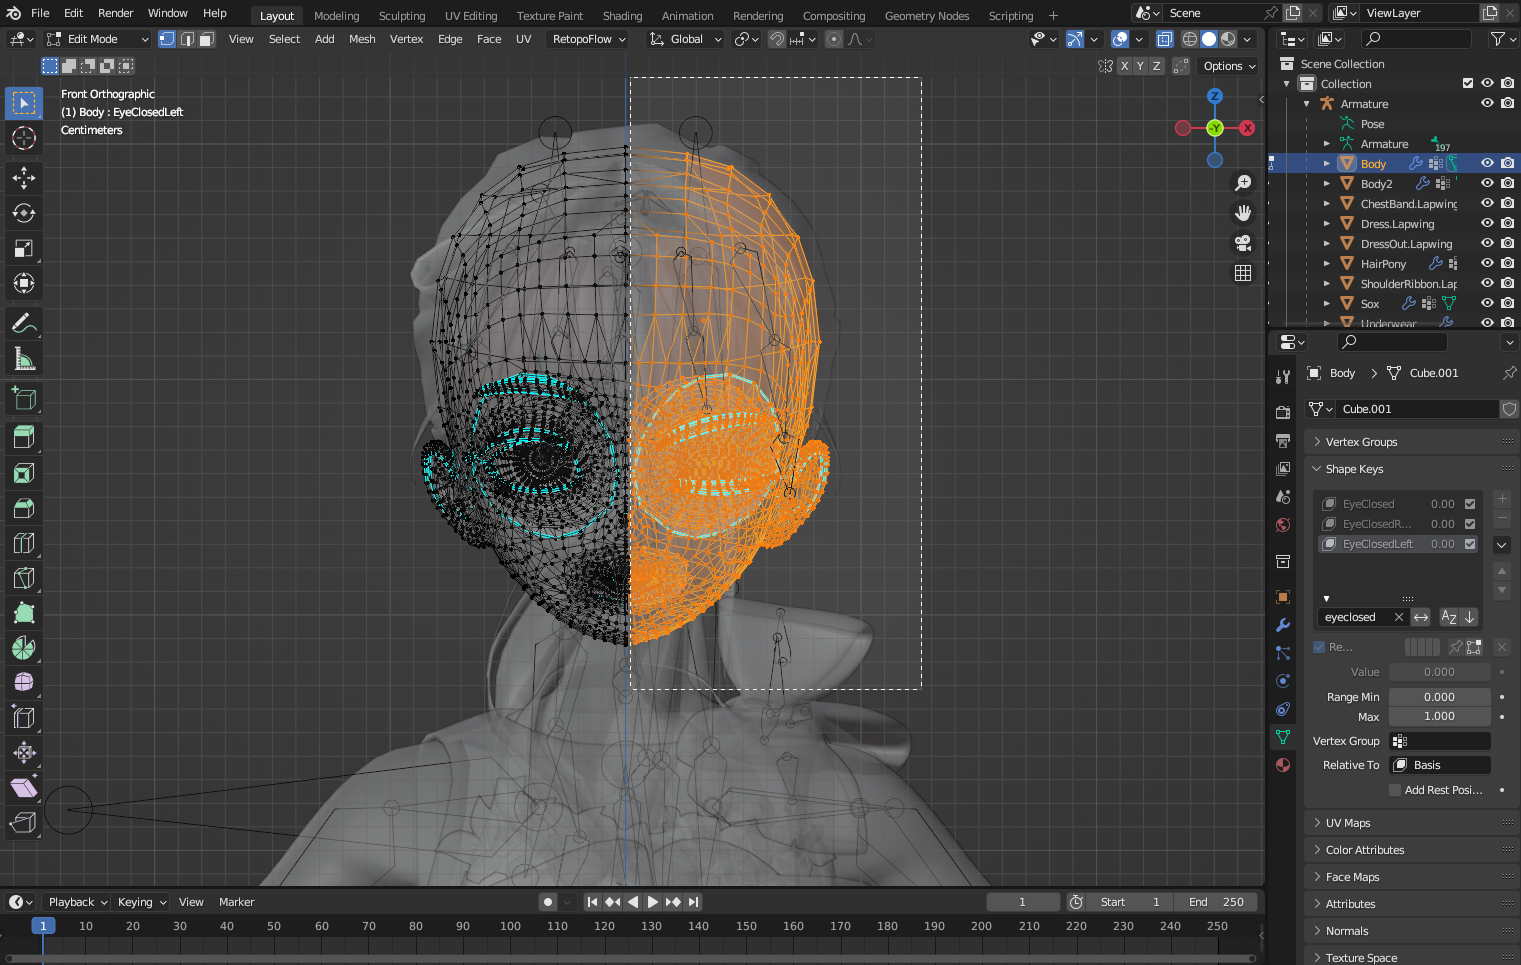
- Select your face mesh on your avatar (It's called
BodyHere)
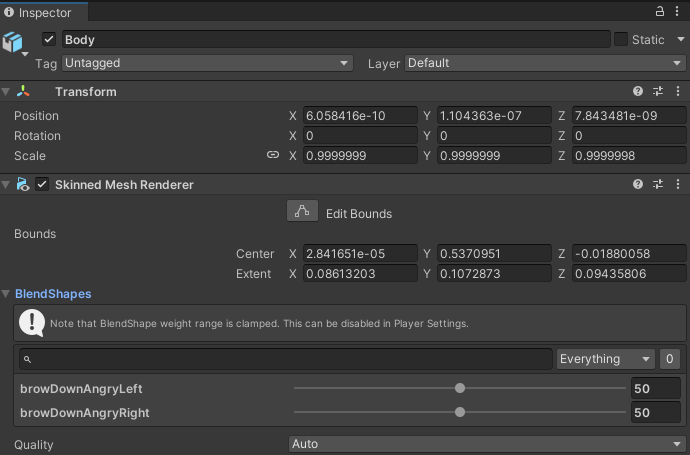
Develop the
BlendshapessectionPress the little
0next to the search bar to only show the blendshapes that are non zero
Select your face mesh in Blender by simply clicking on it in the viewport
To select the value in blender go to the data properties tab (3 green dots linked together)

Develop the ShapeKeys menu
Click the search arrow right above the
Relativecheckbox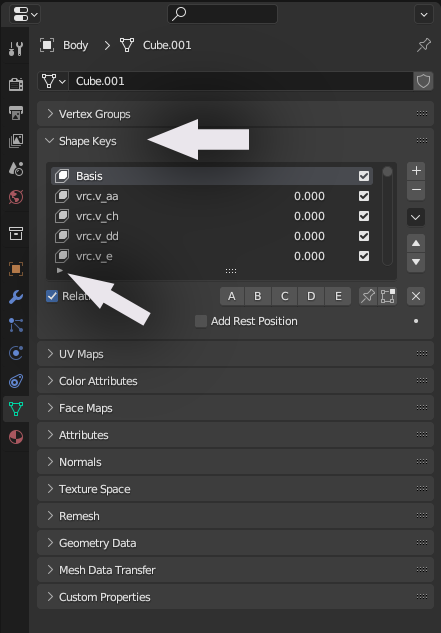
Search for the same blendshapes you have customized on Unity (in my case here it's
browDownAngryRight&browDownAngryLeft)Set them to the same values (be careful blender shapekeys are 0→1 where unity is 0→100)
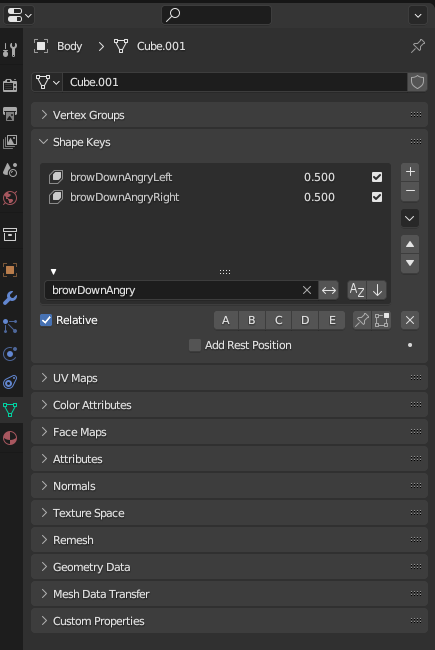
Click the little down arrow bellow the
-buttonClick
New Shape from Mix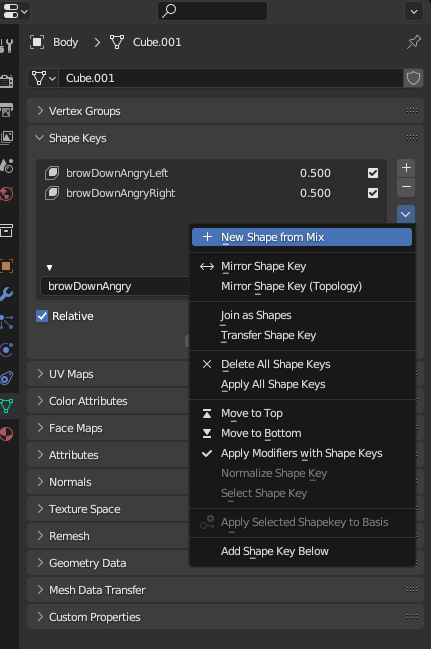
Press the little
Xnear the search bar and scroll at the bottom of the list to reset your searchPress the Little
XOn the same line as theRelativetickboxScroll down at the Copy the name of your shapekey mix (you can double click the name to select the text) (in my case it's
Key 241)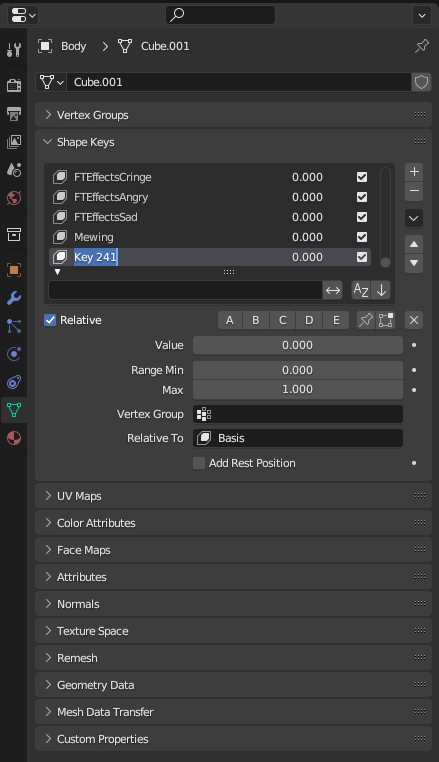
Applying the fix
Search
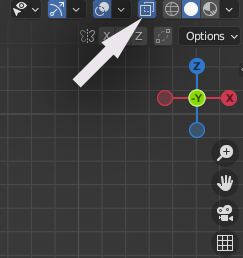
EyeClosedin the shapekey list the same way you searched your custom shapekeysClick the Y- Gizmo or press
Numpad 1to make the avatar face forward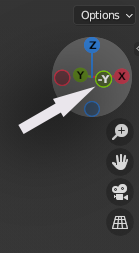
Go into edit mode by pressing
Tabwhile having your mouse over the viewpointClick the Xray Mode button at the top right corner of your viewpoint
Select Roughly the right side of your face
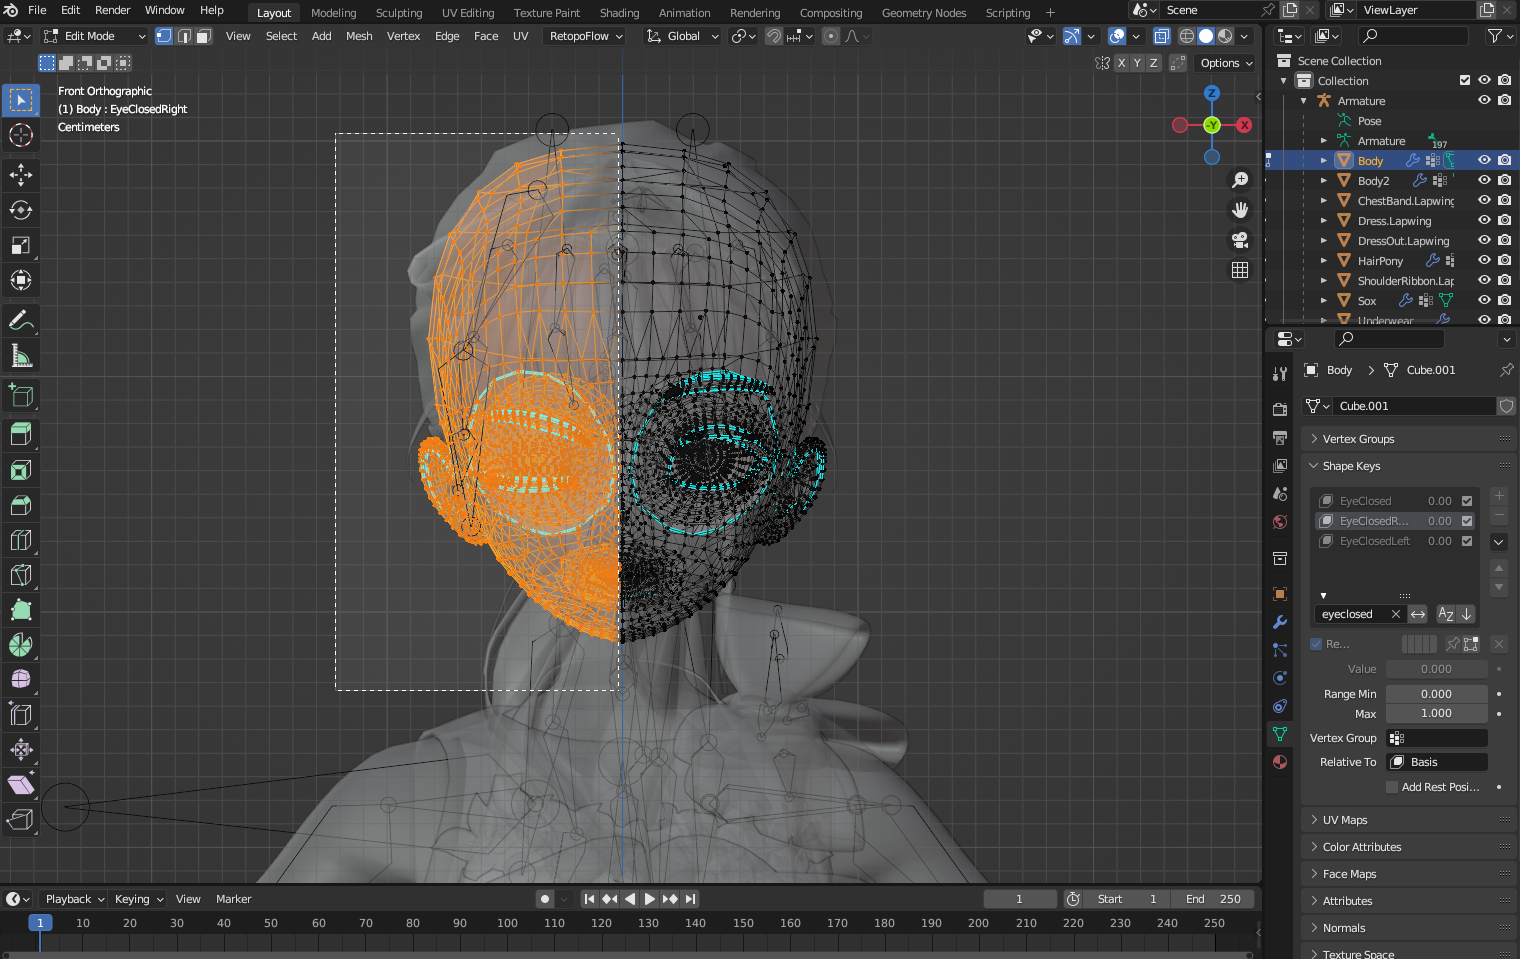
Select the
EyeClosedRightShapeKeyPress
Ctrl+Vabove your viewportSelect
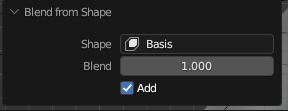
Blend from Shape
Click the little arrow to develop the Blend from Shape menu
Paste the name of your custom mix (
Key 241for me)Make sure
Addis tickedSet a weight of
-1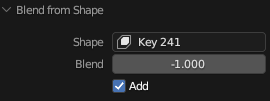
This is what it should look like
Click in anywhere on your viewpoint to clear your selection
Roughly select the Left side of your face
Reproduce the process with selecting
EyeClosedLeft
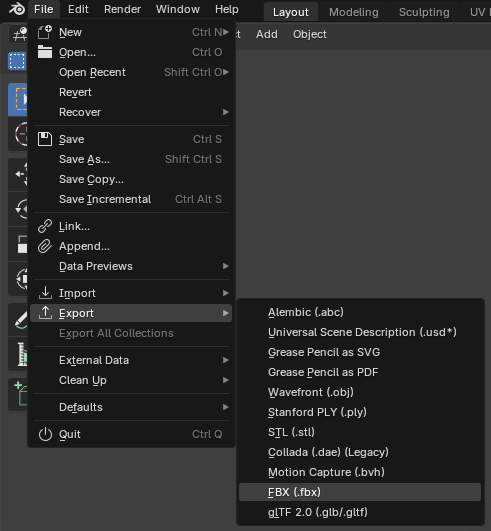
Export your work
- Direct yourself at the top left of your window
- Click
File - Click
Export - Click
FBX
Select where your custom model is located at
Click the file
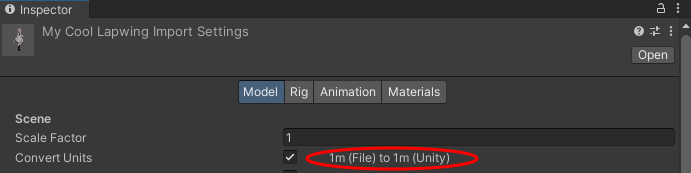
Switch back to Unity
Select your custom FBX file in the Unity file explorer
Look at the inspector window
Take note of the Convert Units scaling (Here it's
1M/Unitbut it can also be1cm/Unit)
- In the Blender Export window take the appropriate export scaling
1M/Unit = FBX All&1cm/Unit = All Local
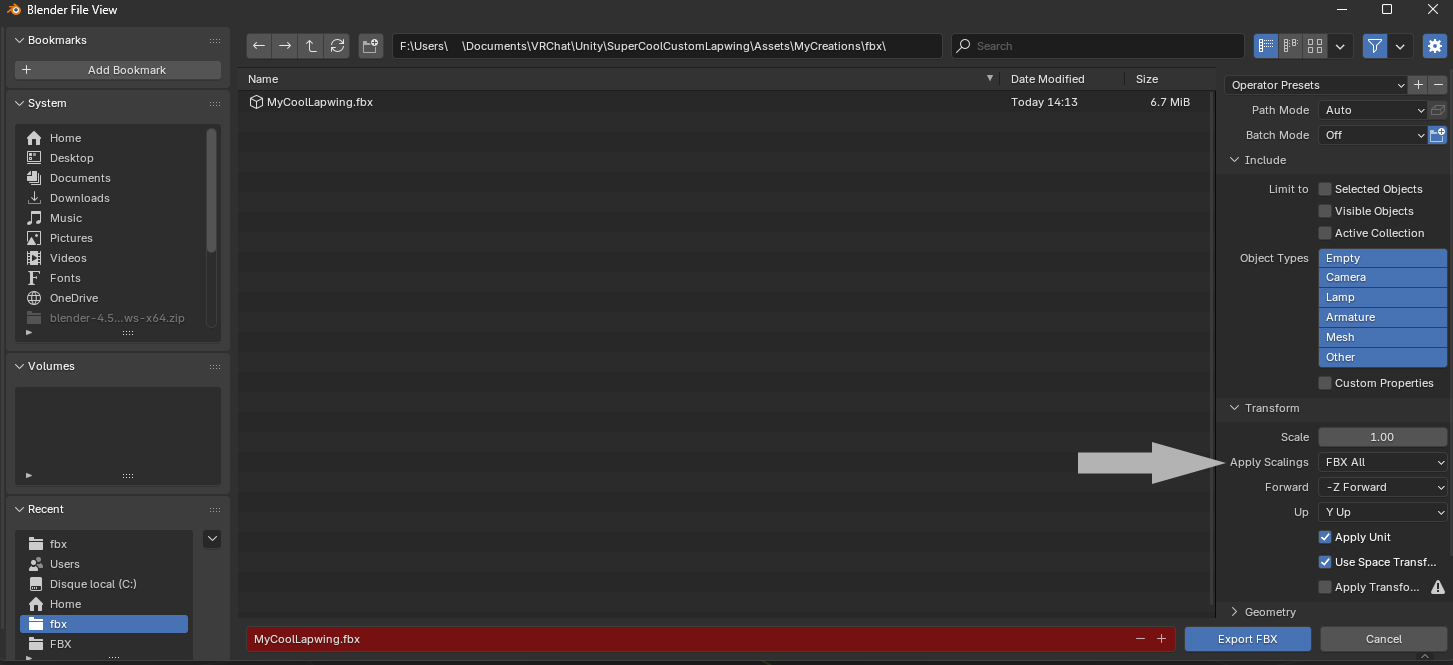
- Press
Export FBX
You're done!
Eye rotation broken
This is likely caused in situations where the avatar component doesn't reference the right eye bones, this can be caused by a few different factors:
Your eye bones are not mapped
To identify the issue: Select your avatar's fbx file in unity, go to the rig tab, configure, then select head, and look if your eye bones are properly assigned
To fix: If they are not assigned, select them from the hierarchy on the left
The reference to the eye bones is missing
To identify the issue: likely caused by swapping the head mesh
To fix: Perform a head swap in blender, here's a step by step guide on how to do it
Another animation is preventing the eye from moving
To identify the issue: Use the same animation controllers as the prefabs I provide and remove any modular avatar or VRCFury components
To fix: Check for Animation Tracking Control components that may set the
Eyes & EyelidstheTrackingstate, and/or add-in one by one every modular avatar or vrcfury component to identify which one is causing the issue.
Patcher script creates red errors
This is a commun issue on some computers with their language set to something different than English.
This can be solved by:
- Opening your windows control panel
- Clock and Region
- Region
- Select
Administrationat the top of the window - Click
Modify global settingsunderLanguage for non Unicode programs - Select
English (United States)
You can revert the changes after patching the model
My custom blendshapes configuration gets reset when I upload my avatar
This is likely because the avatar has a resting face animation which resets some or all of your custom blendshapes configuration,
This can be fixed by recording your custom configuration on top of that resting animation